- Affiliate Marketing & Performance Marketing Articles, All, Performance Marketing, Technology
Perform[cb] Performance Exchange Walk-Through for Email Affiliates
- Perform[cb]

Email traffic has now been migrated to The Clickbooth Performance Exchange. With this transition, our email affiliates now have access to our top-performing offers through the platform and will benefit from the platform’s innovative interface.
Logging into The Clickbooth Performance Exchange:
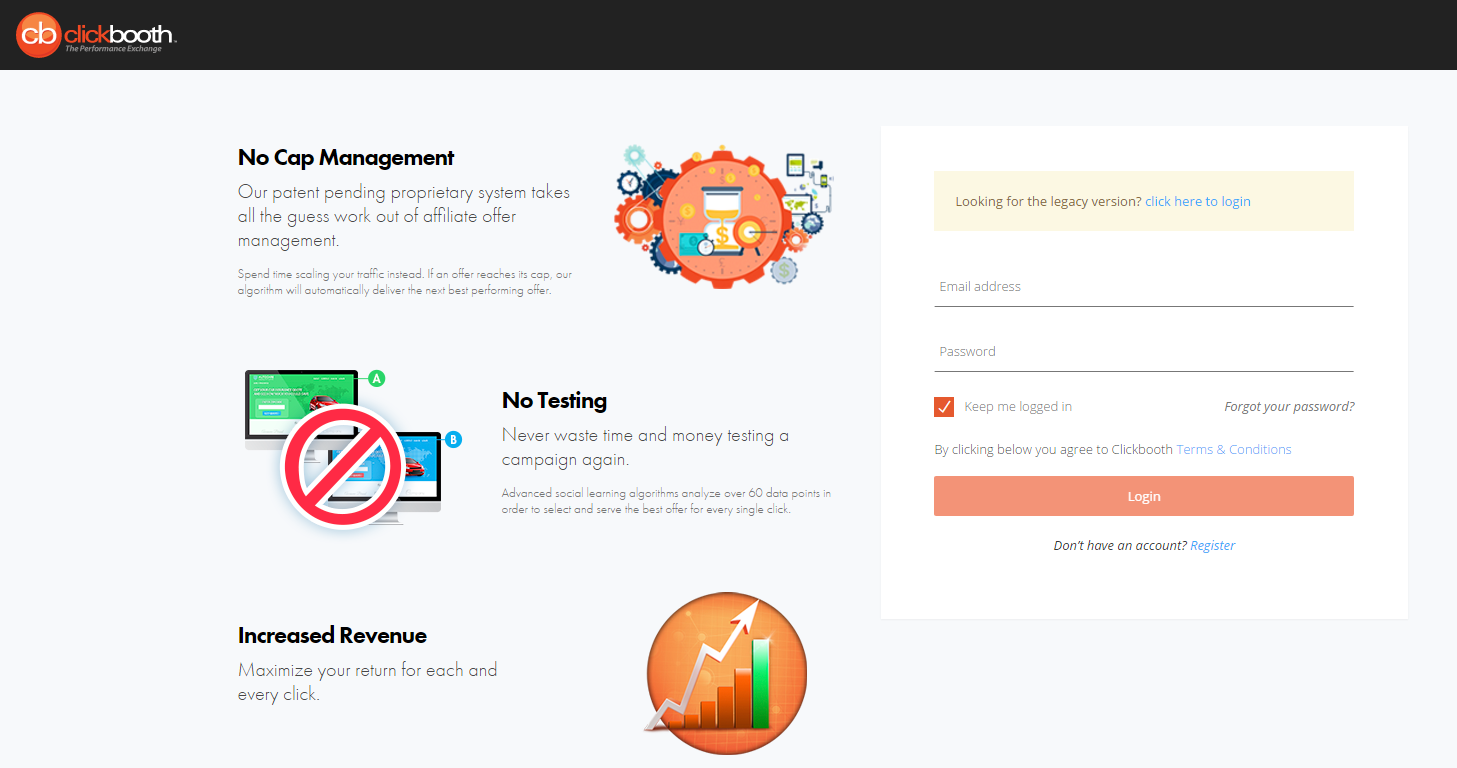
To access the Clickbooth Performance Exchange you will now need to login. You can visit:
https://login.clickbooth.com/affiliates/login
Or login from our Clickbooth Homepage:
From here you can enter the credentials you have been provided to gain access to the platform!
Getting Started:
Once logged in your ‘Dashboard’ will show you an overview of daily stats.
Viewing Offers and Creating Campaigns:
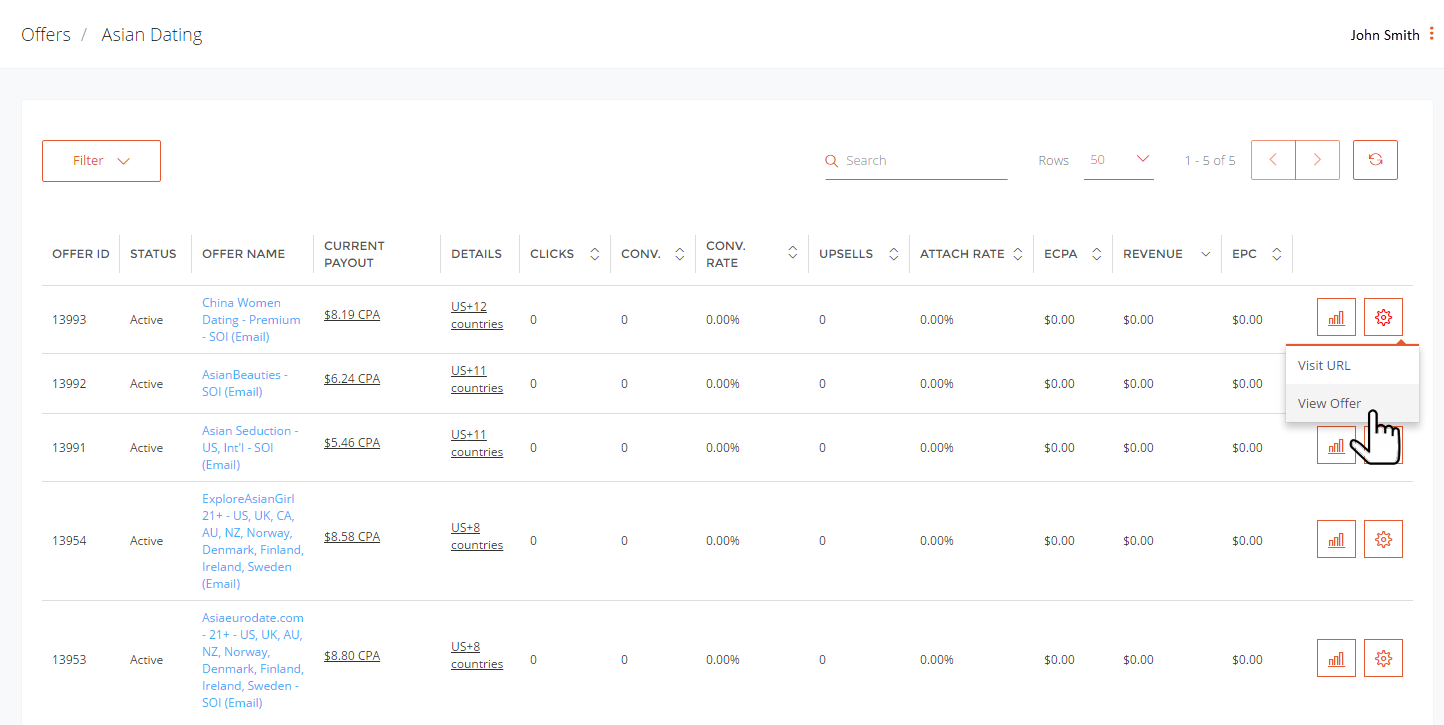
To view all the offers available to you on the Performance Exchange you’ll want to begin by selecting ‘Offers’ from the left sidebar. Here you will see the list of available verticals. To see the offers for each vertical, you can either select the Settings Wheel for the vertical and click on View Offers or you can simply select the hyperlinked number listed under the Offers column.
Here you will see all the offers available to you within that vertical. To see the landing page for the offer click on the Settings Wheel and choose Visit URL from the dropdown. To use an offer for an email campaign, choose View Offer.
The pop will provide you with all the details you need to create your campaign. This includes creative information, unsubscribe link, and the approved from lines and subject lines for the offer.
If you continue down you will also see campaign information, here you can create a name for your campaign and agree to the terms and conditions. Please ensure that you have read and understand the Offer Restrictions listed within the Terms & Conditions before proceeding. Once you have completed both of these items you can select the Create Campaign button.
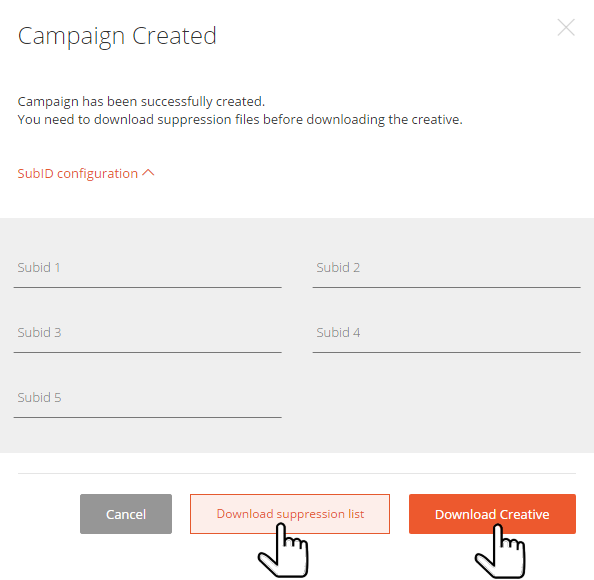
Once you select Create Campaign the system will prompt you with a confirmation. It is important to note that you MUST download the suppression list before you can download the offer creative. Within this window you will also be able to set up SubID Configurations if necessary.
You have now created your first campaign in the Clickbooth Performance Exchange!
Viewing and Editing Existing Campaigns/Suppression Download:
To view or edit a campaign you have already created you will want to select ‘Campaigns’ from the left sidebar. Here you will see a list of your campaigns. To edit your campaign, download suppression list before each drop, re-download creatives or get your tracking link you will want to select the Settings Wheel from the desired Campaign.
***Please note you MUST download the suppression list prior to each campaign drop***
*Please note when editing your campaign details you must click SAVE once updated. *
Placing Tracking Pixel:
Now that you are ready to begin mailing Clickbooth Offers, you must first place your pixel. To do this, begin by selecting ‘Tracking Pixels’ from the left sidebar. This is where you will find/edit any Tracking Pixels that you create. To create a new pixel, select ‘Add Boost Tracking Pixel’ from the top right hand side.
The Tracking Pixel window will appear and it is here that you can add the details for each of your pixels. Once you are done filling in the information simply click on the ‘Add Boost Tracking Pixel’ button.
Congratulations you are now ready to run email offers on the Clickbooth Performance Exchange!
You May Also Like
- Partners, Your Pixels Just Got More Powerful
- Did you know Clickbooth has CPC for Email Campaigns?
- Budget Groups & Pixel Groups: Clickbooth’s Newest Advertiser Improvements
- Affiliate Tracking Pixel Update : Greater flexibility through enhanced tracking integration.
- Clickbooth Delivers on Proprietary Platform Email Integration!


